
Hoping this busy time before the holidays is going well for you. I've managed to get a few more ornaments made for the tree that I'd like to share if you actually have the time to look. Every year, I make an ornament using a pic from the prior Christmas. Using the current year's picture would be just to proactive for me, I'm just glad to get something on the tree from every year, up to last year that is :)
The "mini album inside the tin" is the photo ornament I made this year.

Last year after Christmas I found a handful of these mini lunch box tins at Home Depot in the after holiday clearance bin. Well of course I thought they were cute and that I could make little albums for the insides.


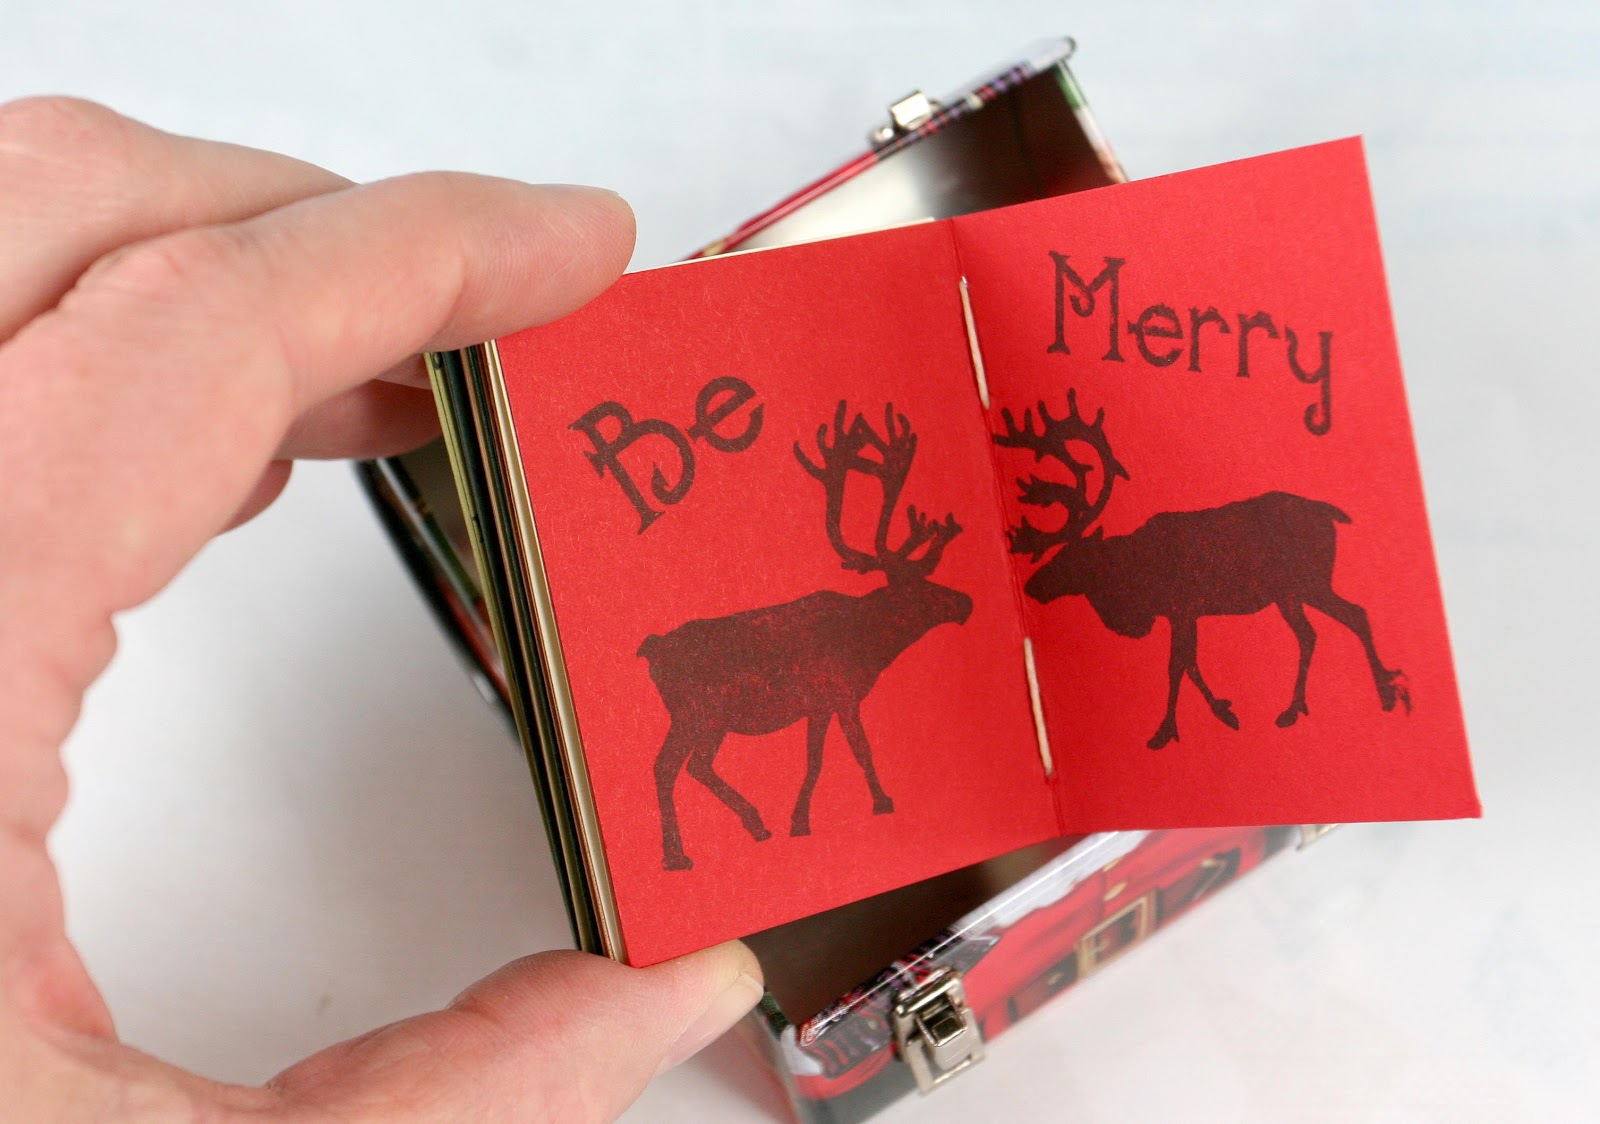

The tin will keep this mini album in great condition over the years, I'm hoping my family enjoys looking through it each year we get out the Christmas decorations.
This blog is turning into a long one - hope you don't mind more and more pics!
Moving on to the matchbox ornament, I think it's so darn cute.

I had the premade matchboxes from when Club Scrap sold them in GHM with the Fossils kit (but that was a long time ago), for now one could certainly make their own or find them in the craft stores I would think.
As you can see my first step was wrapping with old dictionary papers.


It's so cute just like this, covered with old book pages, but thought I should add an acrylic paint wash. Blue for the sky and white for the snow.

Then I folded and cut up some of my little paper scraps (no large sheets of uncut paper were injured in this project) to make tiny houses.

I used the "Peace On Earth" stamp from Club Scrap's 2012 WOW Holiday stamp sheet for the little banner above the houses, attached with foam squares to add dimension.
Of course, glitter glue was a "must have".


Then adding a ribbon on the top of the outside sleeve works for a hanger. I would love to make more of these cutties, but need to get a little Christmas shopping done first LOL.
Now, this "Christmas wish in a bottle" only takes a couple minutes.
Just roll up the stamped or handwritten Christmas wish...


...put it inside the bottle. I used waxed linen thread for creating the hanger. Easy one :)

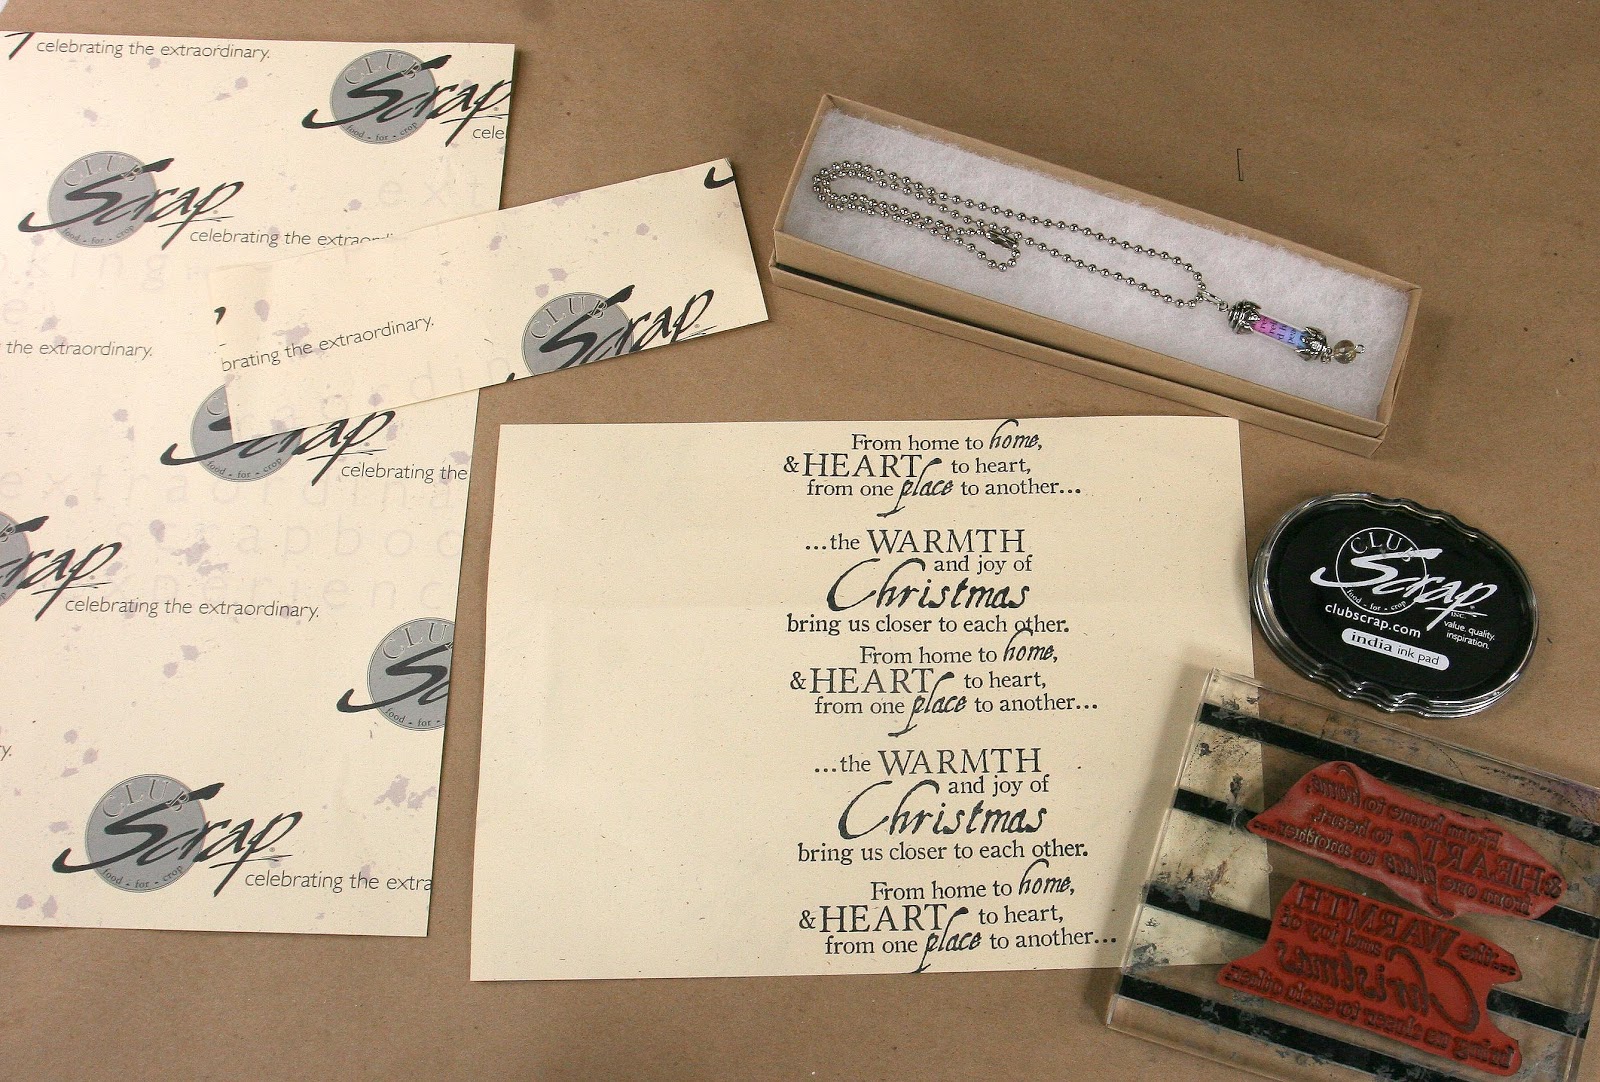
Oh, and one other little tidbit. At Club Scrap we just put this 12x19 Ivory Text weight paper online (in my opinion, one can never have enough ivory text weight paper for projects) heheee. One side is printed with the Club Scrap logo, but the other side is great for stamping on and creating your very own altered wrapping paper. I had a little fun with it here wrapping a gift.


Thanks for stopping to look during the busy time of year!
Hoping you find a little time for crafting this holiday pre-season.
Kay


